This first post is a step by step install guide for Free PBX.
In the demo, we will be using ESXI 5.1.0 as the virtual host and an Iomega Storcenter ix4 as the data store.
In the next couple of Days I will create a demo of how to setup ESXI.
But for now....
To get started with Free PBX, we need to download the latest ISO (Live Installer) from the website. The direct link is
http://www.schmoozecom.com/distro-download.php
I have downloaded the 64 Bit stable version. The name of the file is FreePBX-2.210.62-3-x64_64-Full-1357257745.iso
After downloading the ISO image, we will create a new virtual machine in VMWare. Start by adding a virtual machine then follow the settings below:
Custom
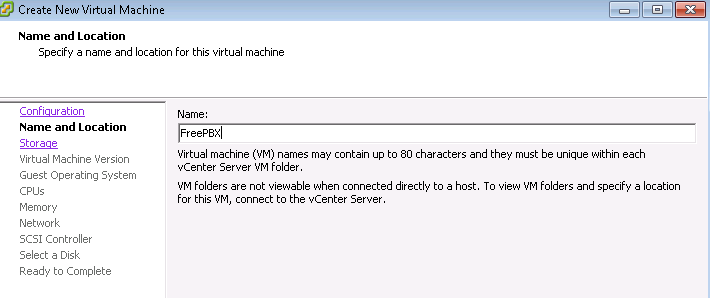
I have named the Virtual Machine FreePBX but you can name it whatever you like:
Click next then choose a datastore to save the VM. - I have created an ISCSI target using the Iomega NAS. You can use datastore1 if you do not have an external device.
Choose Virtual Machine Version: 8 for maximum functionality.
Click Next:
The guest operating system is Linux. I chose Red Hat Enterprise Linux 6 (64-bit) Any linux option on the version dropdown should work.
Click Next.
I have chosen 4 virtual sockets: 1 virtual socket will work fine - the Free PBX distro does not take a lot of processing power for Small to Medium installs.
Click Next:
In the demo, we have chosen 4 gb of Ram. 1 - 2 GB is sufficient for small to medium installs.
Click Next.
You will need at least one NIC for network connectivity - Trunk Providers/Phone extensions - Basically one NIC to make anything work.
Click Next:
Choose VMware Paravirtual - Other options can/will degrade performance.
Click Next:
Choose create a new virtual disk
Click next:
Specify the size of the disk in GB. I have chosen 90 GB for the demo, 10 is plenty of space for small installs. Additional space will be needed for VM, call recording, Greetings, etc.
Click next:
On the advanced options page, click next.
Click Next. Check the "Edit the virtual Machine settings before completion"
Click Next:
For the demo, I have selected "reserve all quest memory (all locked)" This enhances ISCSI performance by not storing the linux swap file on the SAN or NAS device. Instead, all memory is allocated when the virtual machine is started.
Click Finish:
The next step is to start up the virtual machine.
Open the console for the virtual machine we just created and click the green start button.
After the console is open, click the CD icon with a wrench. This will let us specify the CD (ISO in our case) for installing the operating system (free PBX).
Click open a file on the local disk. Browse to where you saved the FreePBX-2.210.63-2-x86_64-Full-1357257745 file then choose open.
After you have clicked open, click control + alt + insert on your keyboard, this will reboot the virtual machine and start booting the installer. The screen should look similar to the following after the VM has started to spin up the ISO.
You will then be prompted which version of asterisk and free pbx you would like to install. Choose the top option. (Full Install).
Then you will see this screen (network configuration)
For the demo I have used the static address of 10.5.0.1 / subnet 255.0.0.0 / gateway 10.0.0.1 However, feel free to use dynamic IP configuration (DHCP). After you have configured the network settings, choose OK.
The next screen in time zone selection.
After choosing the time zone, select OK.
You are prompted to create a password for the "root" user.
After entering the password, the installer for CentOS creates the filesystem. This takes some time depending on the size of the disk you configured.
The next step is package installation, I have skipped forward in screenshots... to 72%
After the packages are installed, the system will reboot then you should (hopefully) :) be prompted with this screen to log in:
That completed the install section, please see the next post :)


No comments:
Post a Comment